HOW I USED ANIMATION IN MY WIX WEBSITE
By layering and redrawing over it three times with onion skin, I used the same technique as the funny face. Rather than using Adobe Animate, I used Ibis Paint X, which is a fairly easy and simple app for creating handwritten animations. However, unlike Adobe Animate, I had to export the animation to a jpg file and upload it to Imovie, then drag each image into Imovie, making each one second long, and then copy and paste the three created one second long pngs six times until they looked like a GIF.
Ibis Paint Xl alows me to create animated designs that make my Wix website more appealing to my eyes and less like other generic sites. As it makmakes my portfolio presentation extremelyteresting, I am glad to have chosen to animate every heading, as it is quite time consuming, but very pleasing to the eye.
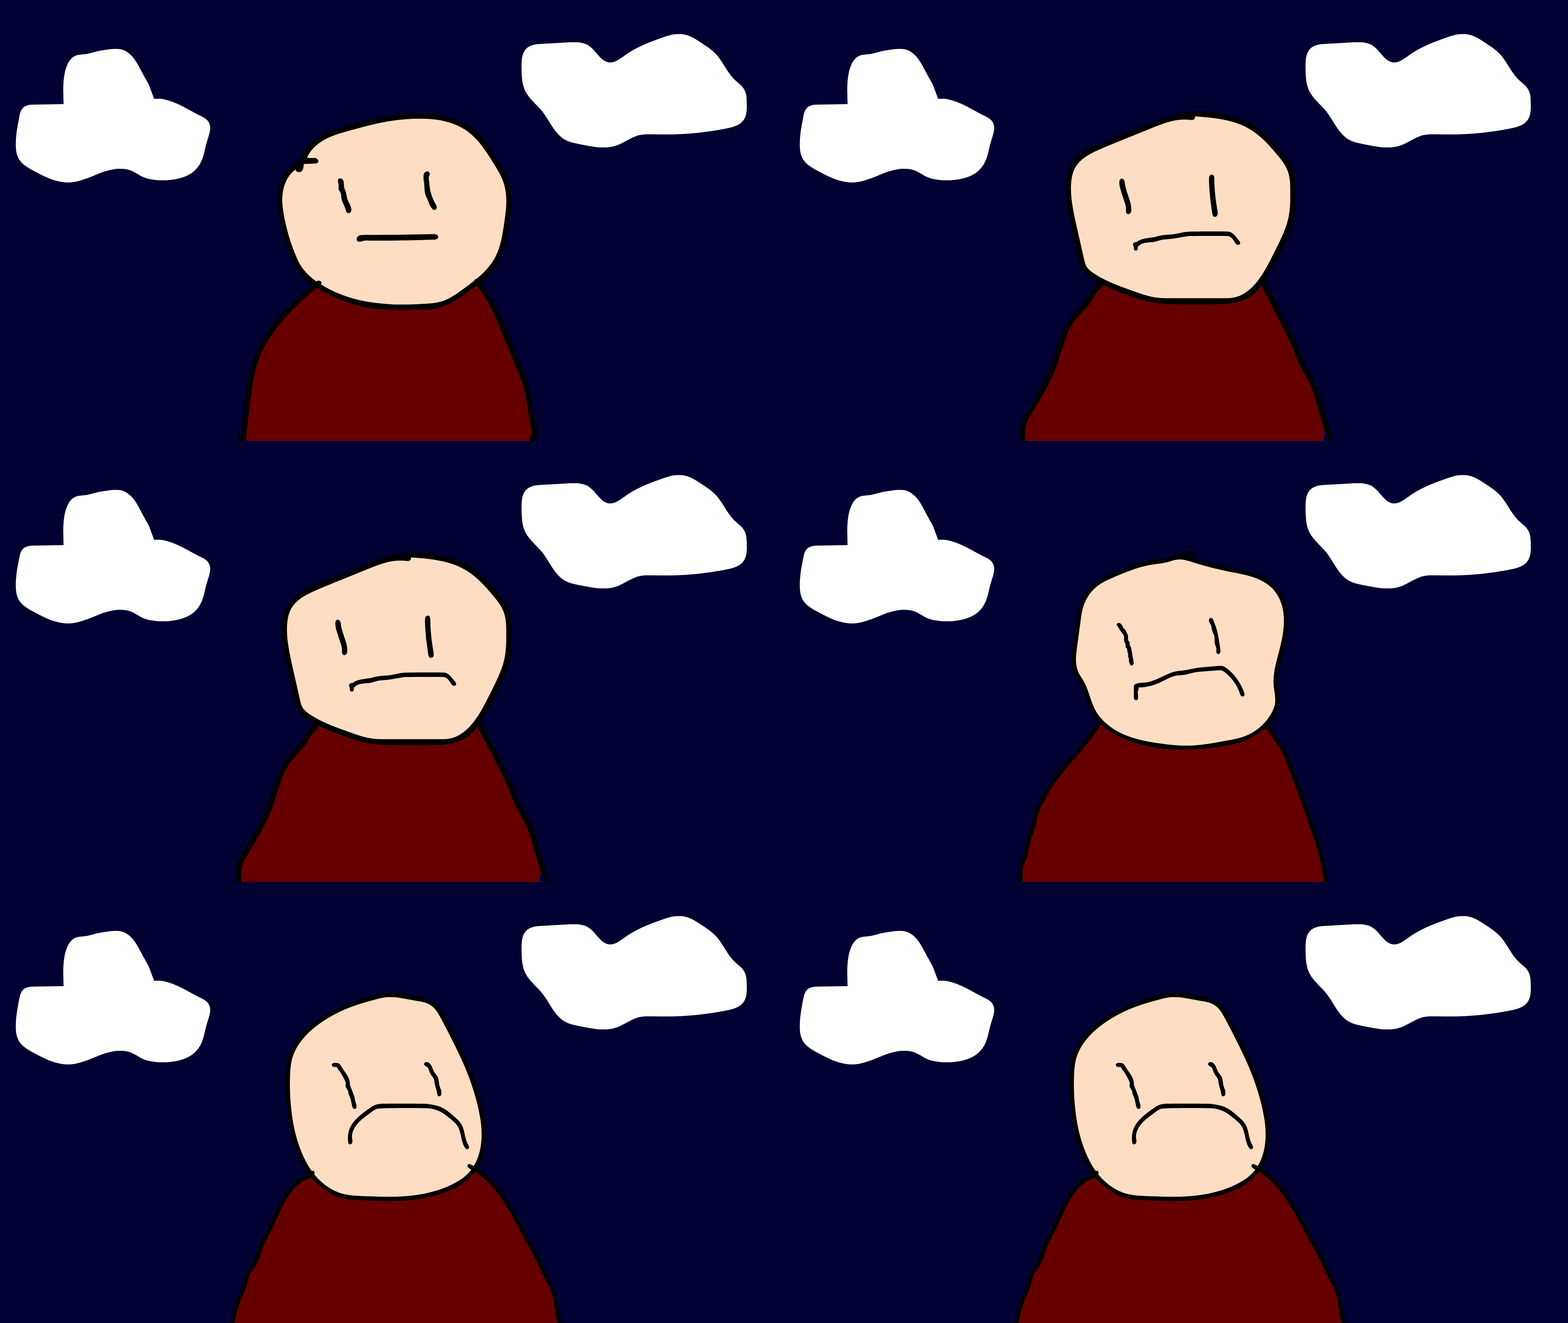
PROJECT ONE FUNNY FACE

HOW I USED ADOBE ANIMATE TO CREATE FUNNY FACE ANIMATIONS
starting a new file, the timeline it's divided into frames, starting a 6 FPS in order to create a GIF loop using at least 10 layered frames.for my first animation, i used five frames and used the paint brush tool with it being 100% smooth. When drawing i made sure to fill up loose gaps to ensure when using the flood tool.
When doing the second layer of frames, turn on the onion skin to copy out the drawing which is a blue lining, for this and the other remaining frames and change up either your characters smile, eyes or any other part of your character within 5-10 frames to create a loop.using the flooding bucket tool, we begin to colour in our animated character in each layer insuring that there are no gaps and it is completely lined. creating a second layer for the background and dragging the second layer under the first layer and flood filling the background and adding detailed drawing to the background.finalising the animation, to export it, pressing on export, then exporting it as a animate GIF.
PROJECT TWO PARALLAX SCROLLING

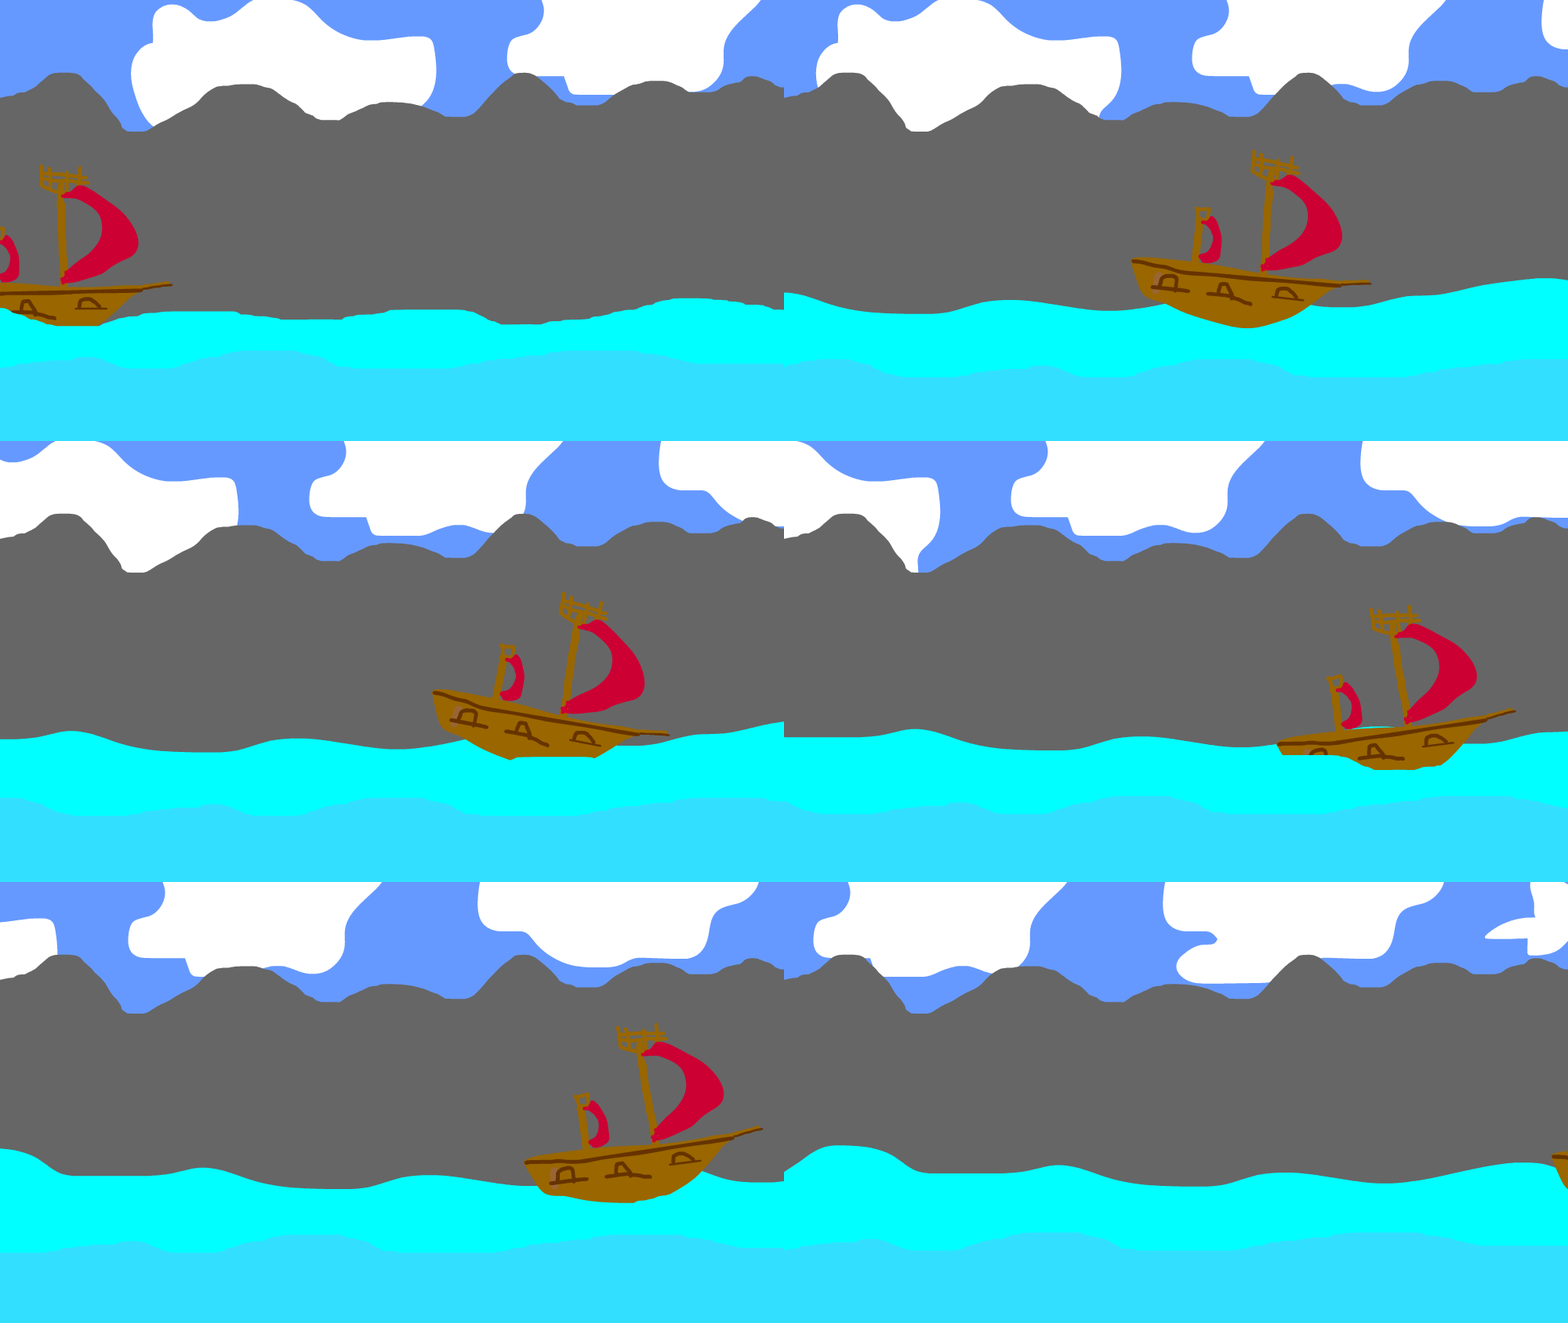
HOW I USED ADOBE ANIMATE TO CREATE PARALLAX SCROLLING
Opening Adobe Animate, begin selecting Full HD, similarly to our first project. When doing Parallax Scrolling, there is a use of lots of layering in order to create the parallax scrolling effect.
Starting with layer one being the background, select something that resembles ideally a sky, using the square shape tool along the left-hand side, filling the stage inside until you. Can see the other ages which the black lines are to denote the stage.
Adding a new layer, inserting a new timeline layer, for the clouds, making sure each layer in which yu draw on has been labelled, using the paint tool paint clouds outside of the black outlining.
As soon as the clouds have been completed, add another layer to the scene and label it 'Hills'. By using a dark green or gray color, create hill-like lines that reach beyond the black lines and connect them fully while filling the section.
Add another layer named River, select a blue colour similar to the hills and create waves connecting outside of the black lining. Fill in another layer of river two in either a brighter or darker shade of blue, repeating these steps.
Creating the last layer labelling it “boat” begin drawing something resembling a boat, joining up the lines and coloring it in using the fill tool. Taking our boat layer we then drag the boat layer in between river one and river two to create a more visually appealing aspect of the boat.
As soon as all the layers are created, we highlight or drag the frames to 30-60 frames, after which we insert a keyframe.
By using the classic tween effect and moving the object to one side we can get the clouds and any other object to move. For the use of the boat, we would like it to have almost a swaying effect. To accomplish that, we separated the keyframes in the boat layer around 5 key frames that had been cut out, modified and transformed, and then scaled. As a result, we can now rotate the animation to create the illusion that it is rocking, as a boat would in the animation, for the next five frames or more.
Last but not least, choose Export as a GIF to export your animation.
PROJECT THREE
BUZZING SPRITE

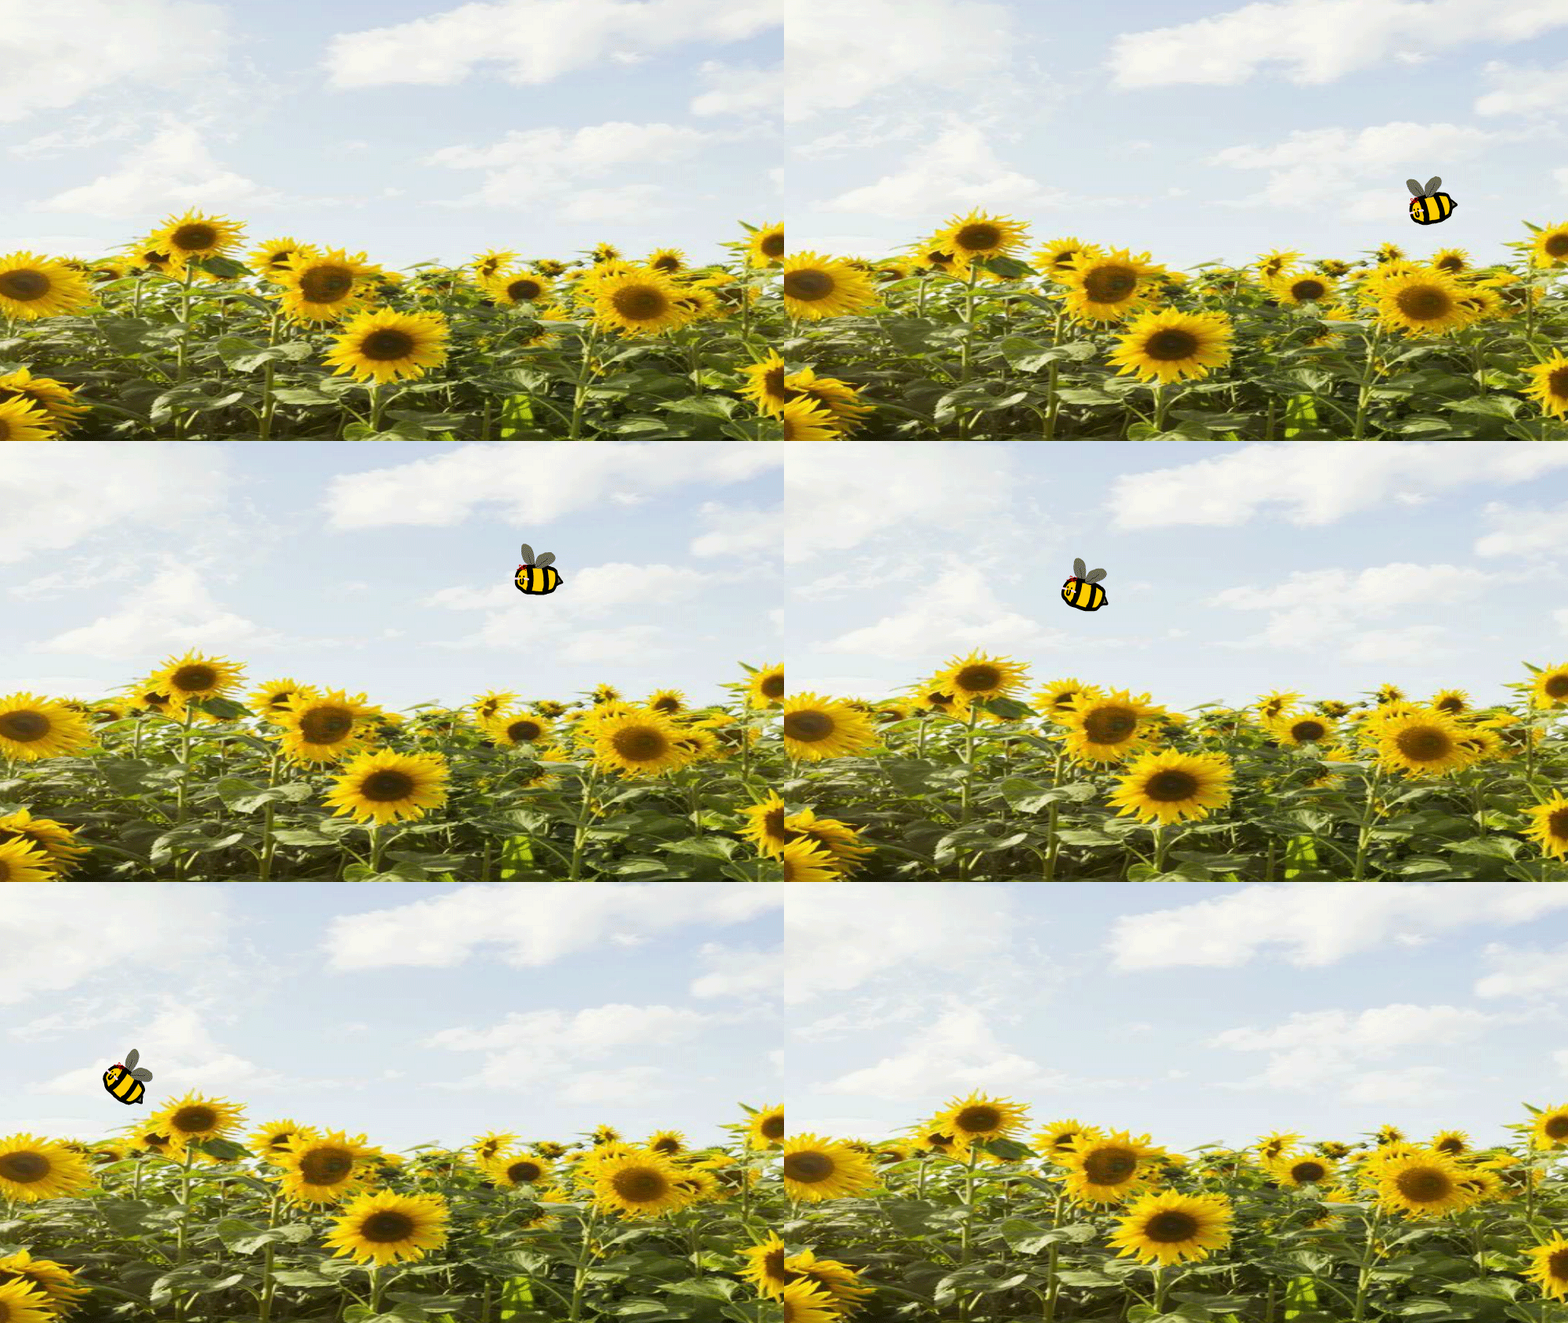
HOW I USED ADOBE ANIMATE TO CREATE BUZZING SPRITE
Buzzy bee sprite is a repeated loop of animations that various computer games still use. An example of this is Mario where the animator has created a series of cycles used in the program.
Opening Adobe Animate, begin selecting Full HD, using the first layer create your own type of bee without adding the wings of the bee and then flood filling the colours in black and yellow.
After finishing flood filling the bee, select the bee and move our animated character into the centre of the page in which you can also change the size of him in order to give room to input wings on to the bee
To create a sprite, that creates its own loop cycle we make the scene into an embedded symbol, selecting the entirety of the bee and making sure you name the layer bee or bee body. Then modifying and converting it to a symbol making sure it’s on graphic in “type”.
Next, we add wings to our animated bee, adding in the new layer name your new layer wing one and draw in the first wing, and flood filling in the colour and creating another layer creating another wing, and dragging that layer under the body of the bee to the foreground.
Then, clicking on the body, insert a key frame for 4-5 cycle loops. For the wings, create a new blank key frame copying and pasting the wings and placing them on the new keyframe, then selecting the wing start transforming it and moving it to create a fluttering effect on the wings i.e.: going up and down., and doing it with the other wing creating a new layer and moving it around for the rest of the key frames to create a loop
For the background, add a new layer, finding a jpg photo online of either flowers or whatsoever, add it in by importing the picture on to the stage and making sure that the bee is directly In front of it
Similarly, to project two, by using the classic tween effect and moving the object to one side for the use of the bee, we would like it to have almost a fluttering effect. To accomplish that, we separated the keyframes in the bee layer around 5 key frames that had been cut out, modified, and transformed, and then scaled. As a result, we can now rotate the animation to create the illusion that it is flying, as a bee would in the animation, for the next five frames or more.
To create a walk cycle, that creates its own loop cycle we begin to use classic tween and place our character animation on one side such as slightly to the left and then end it by moving our charactrer to the right, also making sure that it is at least 80 frames to make it look like a natural walking pace.
For the backgroud, that creates its own loop cycle we begin to use classic tween and moving the background in opposition to walking we bring the background and using classic tween again, we move the background in the opposite direction so to the left and ending it in the righ to create a sense that the background and the character is walking away from it.
For the background, add a new layer, finding a jpg photo online or drawing one out add it in by importing the picture on to the stage and making sure that the man is directly Infront of it
Similarly, to project two, by using the classic tween effect and moving the object to one side for the use of the man and the background.
PROJECT FOUR
WALK CYCLE

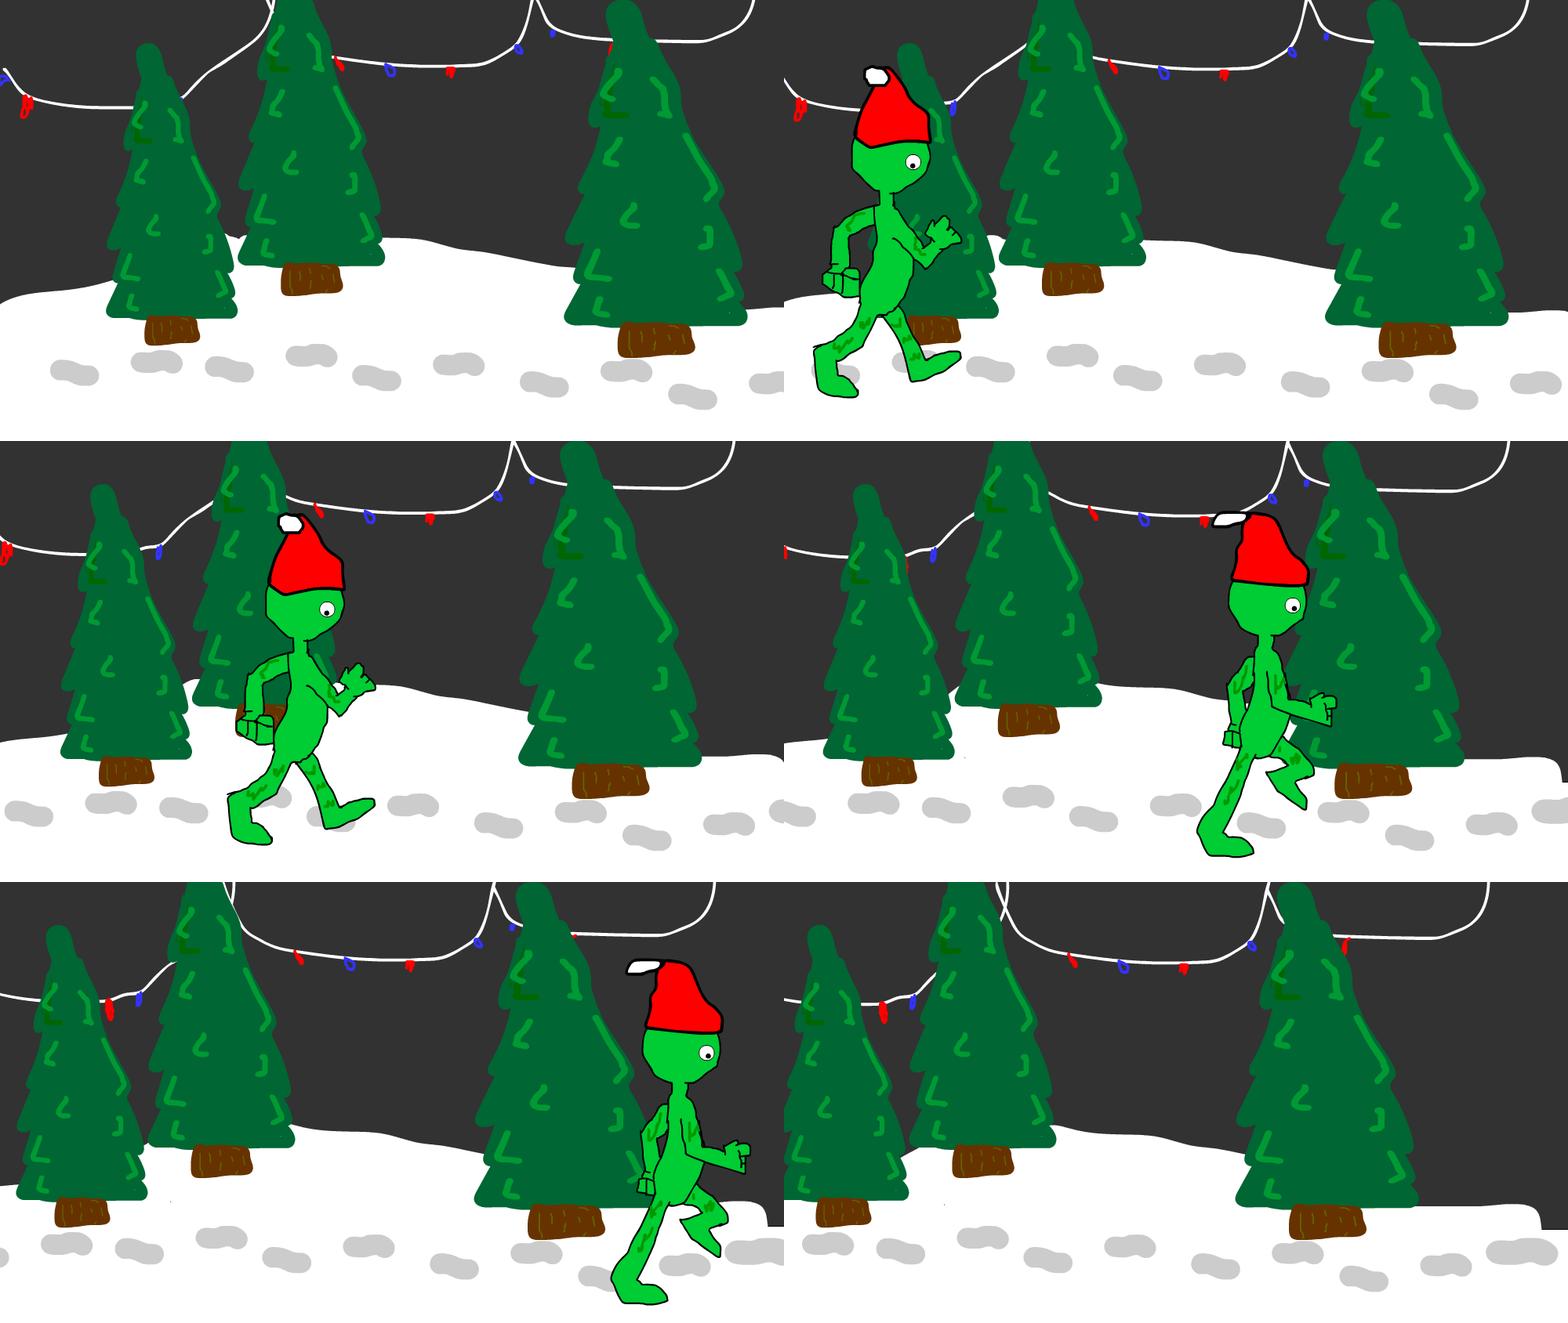
HOW I USED ADOBE ANIMATE TO CREATE WALK CYCLE
walk cycle is a repeated loop of animations using classic tween and similarly to buzzy bee sprite where we use the diffrent animations of the walk.
Opening Adobe Animate, begin selecting Full HD, using the first layer create your own type of walk adding 8 different walk cycles and drawing and tracing them in 8 diffrent times. and drawing in a background in a diffrent layer.
After finishing flood filling the man, select the man and move our animated character into the centre of the page in which you can also change the size of him in order to give room to input the walking animation.
UPDATED
PROJECT FIVE
NAME TITLE
HOW I USED ADOBE ANIMATE TO CREATE A NAME TITLE
Opening Adobe Animate, begin selecting Full HD, using the first layer labeling it BG for background start filling the base with a background colour by using the rectagular tool to box fill it
After finishing flood filling , add in a next layer nameing it your 'firstname' then click on the text tool, add in your first name and then doing the same adding a new layer adding in your 'surname
in the second layer and then labeling it 'surname'. selected a font you woulod like to use for this aniamtion and then putting your animation in place such as the middle of the page, you may also transform your text and make it as big or as small as you please
then after completeing this, we convert both names into a converted symbol by clicking modify and converting to symbol and then picking the graphic movie clip, we then make each frame at least 60fps or more and then change it to motion tween to start animating it
we then make at least 5 key frames in which the 'names' move, we pull it from one side to the other starting from the first frame going to the second we can also make the text jump/glow/bounce by using adobe animimate.
